How to: Sourcing the Wheel
At Good and Basic Manufacturing, we started with one printer and worked our way up from there. We deeply believe that anyone can and should be able to produce their own wants and necessities. If you're interested in fabricating your own products, then this page is for you.
*Note: The products we mention below are affiliate links, which means that if you purchase something we recommend, we get a commission through Amazon. It doesn't increase the price on your end. Also, all of the products we recommend here we either own or use personally.*
*Note: The products we mention below are affiliate links, which means that if you purchase something we recommend, we get a commission through Amazon. It doesn't increase the price on your end. Also, all of the products we recommend here we either own or use personally.*
Step 1: Give Up Now
No really, I'm not kidding. Unless you're one who enjoys the process (and frustrations) of DIY projects, then I would highly recommend just buying the pre-printed pieces and prepared parts from the Etsy store. If, however, like my husband, you enjoy the struggle of figuring things out (and spending all of your Irish swears in one go), then read on.
Step 2: Printed Parts
Joseph has all of the parts you need for free on Thingiverse. They're a non-commercial license, which means you're free to print them for personal use, or even to gift to Great Aunt Hilde and Uncle Wallace. They are not, however, available for commercial use. If you're looking at printing your own materials, but don't know how, we break down our printing process here. You can also print files via a friend or a local makerspace.
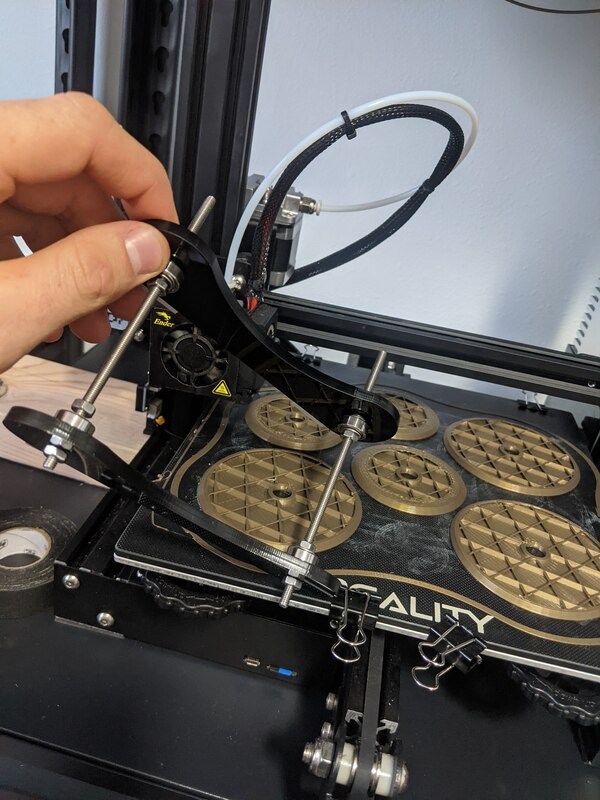
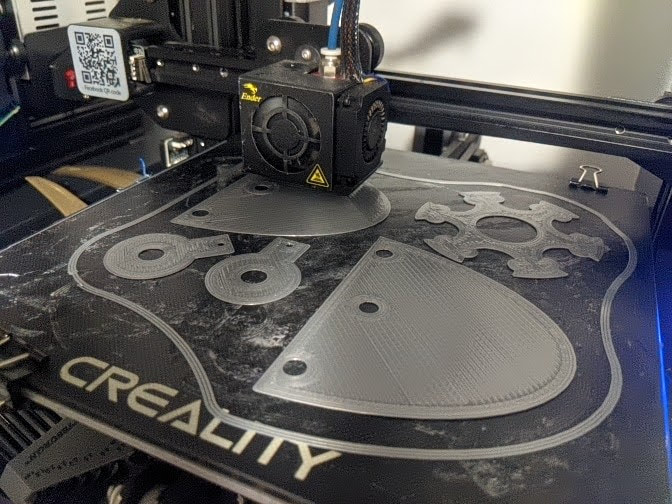
To print our files, we use a Creality Ender 3 Printer and Hatchbox PLA in bronze, red, silver, and blue. We tried Hatchbox gold, but the filament snapped under pressure. We also love the Rainbow Silk PLA available through CC3D. (Isn't it majestic?)
Here's a list of the 3D-printed parts you'll need to complete the spinning wheel:
(1) L Post Bracket
(1) Main Post Bracket
(2) Pedals
(1) Rocker Assembly Top Piece
(1) Spacer
(5) Wheel Spokes
(1) Pivot Spoke
(6) Pegs
(1) Hub
(2) Tie Rod Ends
(1) Flyer Assembly Stand
(1) Flyer Orifice
(1) Flyer Arms
(3) Bobbin Caps
(3) Bobbin Pulleys
Step 3: Other Parts
Okay, buckle up. Here's the list of extra parts and where we get ours. You can also buy a hardware set from the store.
(3) 3/8 in, 4 ¾ in - Aluminum Bobbin Tubes
(1) ¼ in, 6 ½ in - Steel Rod
(6) Bearings
(1) Cord for Drive Band, paracord or thick yarn
(1) ¼ in by 4 inch Leather Strap
(1) 2 inch, 5/16 lag bolt
(1) 1 ½ inch, 5/16 lag bolt
(1) 3 inch, 5/16 hex bolt
(1) 1 ½ inch, 5/16 hex bolt
(2) 5/16 lock nuts
(1) 2 inch, ¼ inch Carriage Bolt
(1) ¼ in wingnut
(1) ⅛ in eye screw
(12) ½ in Screw Hooks
(6) 2 in deck screws - For Frame
(40) 1 in deck screws - For Frame Brackets, Pedals, and Flyer Assembly
(2) ½ in screw (optional) - Tie Rod End (can also use strong glue)
Also, here's a list of wood parts:
(1) 2x2, 10 in - Frame Arm
(1) 2x2, 24 in - Frame Post
(2) 2x2, 12 in - Frame Feet
(1) 2x4, 12 in - Frame Connector
(1) 1x2, 11.5 in - Pedal (Rocker) Arm
(1) ⅜ in dowel, 12 in - Tie Rod
Step 4: Assembly
And, not to put in a plug, but this is the step you can jump to by buying the complete kit. If you'd like a tutorial on putting together all of the pieces, check out the Instructions page.


