How to: 3D-Printing
At Good and Basic Manufacturing, we started with one printer and worked our way up from there. We deeply believe that anyone can and should be able to produce their own wants and necessities. If you're interested in fabricating your own products, then this page is for you.
*Note: The products we mention below are affiliate links, which means that if you purchase something we recommend, we get a commission through Amazon. It doesn't increase the price on your end. Also, all of the products we recommend here we either own or use personally.*
*Note: The products we mention below are affiliate links, which means that if you purchase something we recommend, we get a commission through Amazon. It doesn't increase the price on your end. Also, all of the products we recommend here we either own or use personally.*
Step 1: The Right Tool
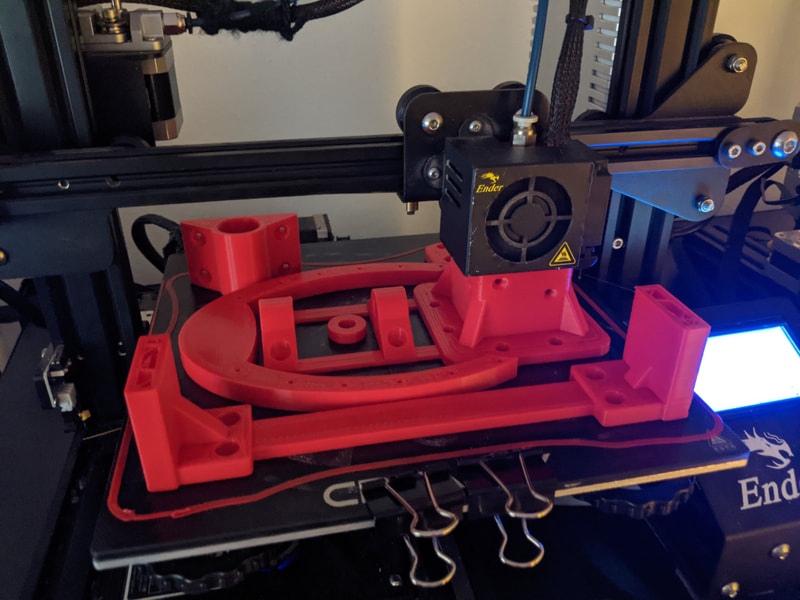
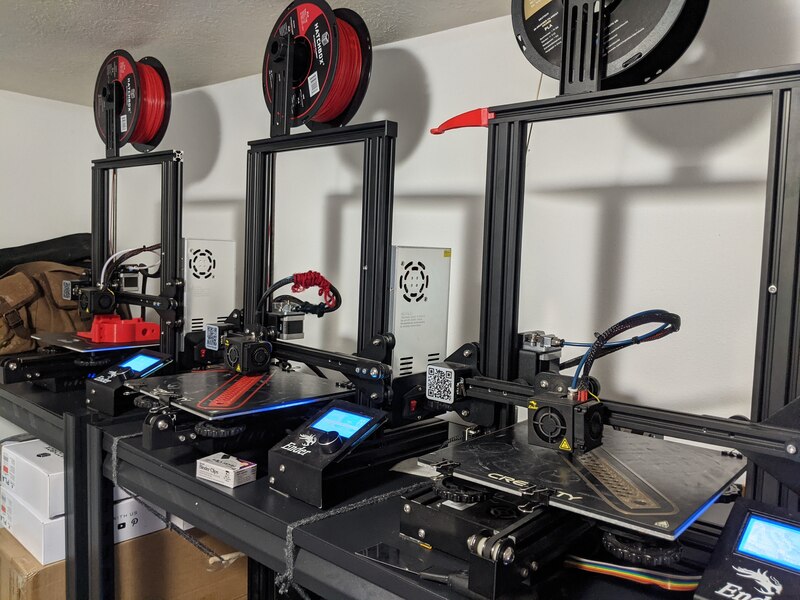
While there are many, many makes and models available, we use the Creality Ender 3. Thus far we've purchased and named several of them, and we still own Skeeter, our first-generation printer that is now several years old.
Step 2: Maintenance
Airplanes, speedboats, motorcycles, and 3D-printers all have something in common: maintenance. The most surprising thing about owning a 3D-printer is the work involved in keeping it running. For many people, it's worth learning how to change Bowden tubes and level beds. For others, it's not. Decide whether or not electrical maintenance is something you're willing to put up with BEFORE investing in a 3D-printer setup. With this in mind, we do purchase upgrades for our printers.
First, Joseph purchases a glass bed. The glass bed helps with adhesion and separation, especially when you put down a layer of glue, as well. He also buys Capricorn Bowden tubing. (It's the kit that looks like it should be against the Geneva convention.)
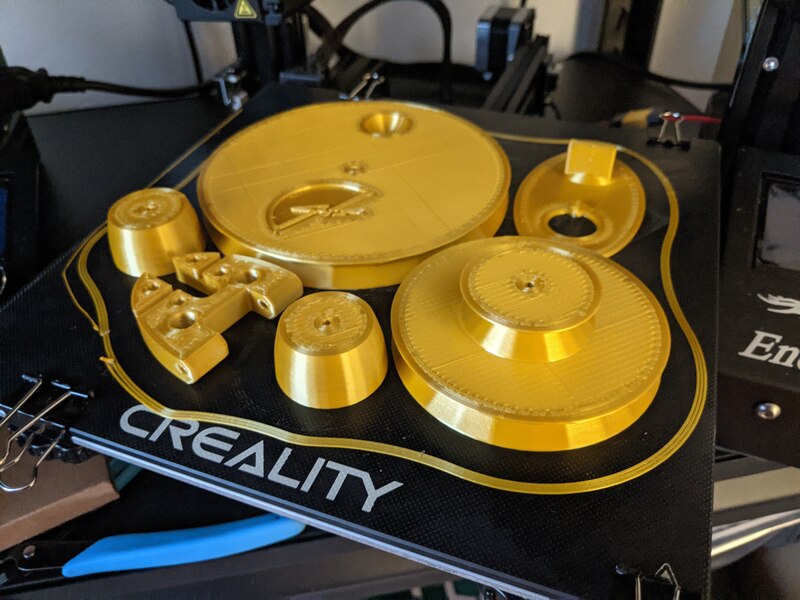
We print using PLA (Polylactic Acid) filament. One, it's made from starch and therefore breaks down more easily for recycling. It's not as biodegradable as an orange peel, but it will break down naturally over time. Two, it's an "easier" filament to work with than say, ABS or PETG. We print in Red Filament, Bronze Filament, Blue Filament, and Silver Filament. When we want to print something shiny, then we splurge and get some Rainbow Silk filament, as well.
Step 3: Plans
This is my favorite part. Go to Thingiverse and surf. Forever. Okay, so maybe not forever, but at least for a good 30 minutes to an hour, if you're particularly good with self-restraint. Once you've found a print that you like, such as this 12-hole ocarina, download the gcode. Or, design your own items using Tinkercad (free online) or Fusion 360 (very not free unless for personal use). In either case, at the end of the process you'll end up with gcode.
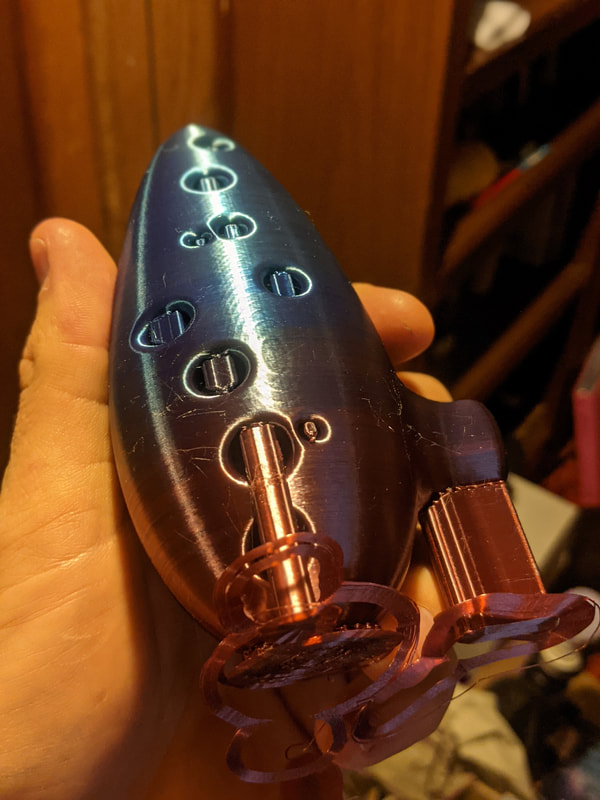
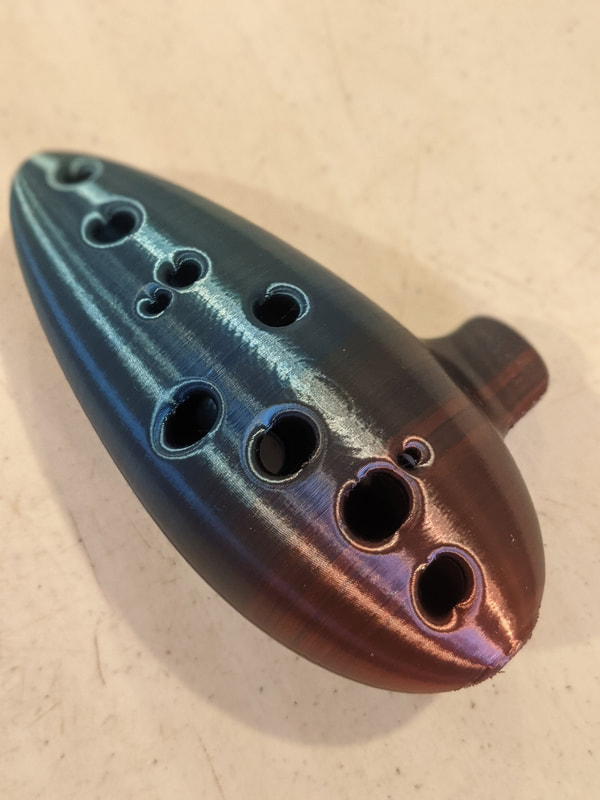
Once you've dialed in your gcode, import the files into a slicer. We use Ultimaker Cura to "slice" our files, meaning that we prepare the gcode to be printed on a specific 3D-printer. We'd highly recommend printing with supports. (See the photos below.) One of the ocarinas printed below has supports in the finger holes to help the printer maintain a round shape (rather than print in thin air). The other ocarina has had the supports removed and is ready to play. (Again, that's the Rainbow Silk PLA I mentioned earlier.)
Most of Joseph's files don't require supports based on the way he designed them; there aren't any overhanging parts. You should *fingers crossed* just be able to print and go. Once you slice the files, you should see an estimate for print time, as well as some other nifty data, like how much filament the print will use. Then, you transfer your files from the computer to the printer using a micro SD card. Most 3D-printers come with a micro SD card already, but we keep extras around, just in case.
Step 4: Troubleshooting
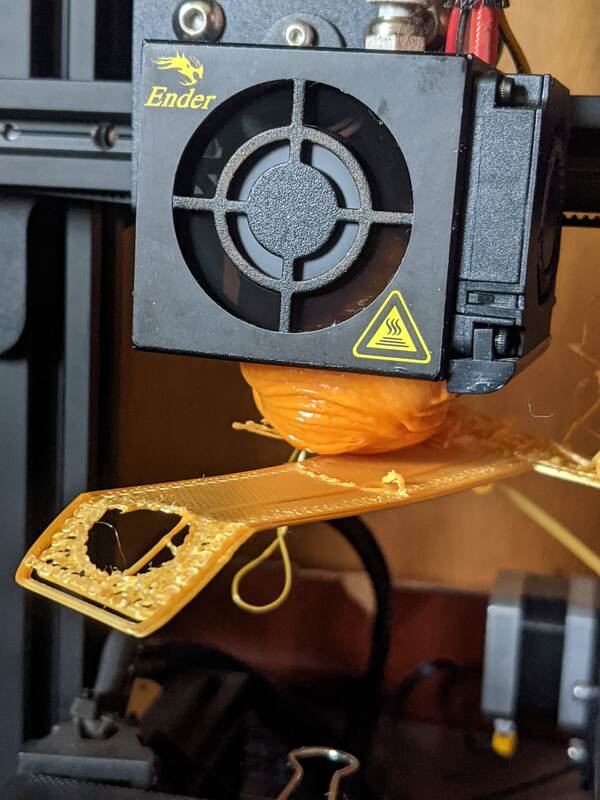
After all of the prep and setup, you FINALLY press the button and start your first print. All seems to be going well, until:
Ahem. Well then.
Be prepared not for if your prints fail, but when. The good news: there's a vibrant online community who can support you in your woe. It's actually quite cathartic, reading over peoples' responses and realizing that you're not the first one to gum an extruder. The even better news: there's nothing so crazily wrong with your 3D-printer that you can't set it right. It might take some time and effort, but the problem will be possible to fix.
All in all, running your own 3D-printer can be very fulfilling, depending on what you'd like to make. It's often a love/hate relationship, but it's also fun to see something you made yourself come off the print bed. The sky--as it were--is the limit.
